We Need Dividers !!
The age-old problem in most kitchens, you need dividers in the drawers to keep your stuff organized. No one likes to reach into a drawer only to find that you have to dig to the bottom to find what you need. On an RV this can be particularly frustrating as the “Stuff” gets put into the rough road blender and scattered in the drawers.
With the new RV, we were determined to find a better solution. Ginny spent a great deal of time on Pinterest until she found the ideal divider build. We had used various household kitchen dividers on our previous rig and found them to be bandaids not fixes. Most of these dividers were designed for a home kitchen and not the odd-sized RV drawers. We knew this would call for some custom work, but we did not want to spend a fortune. It would also be important that the dividers could easily be taken out for periodic cleaning or just a change-up of configuration for that drawer.
Pinterest To The Rescue
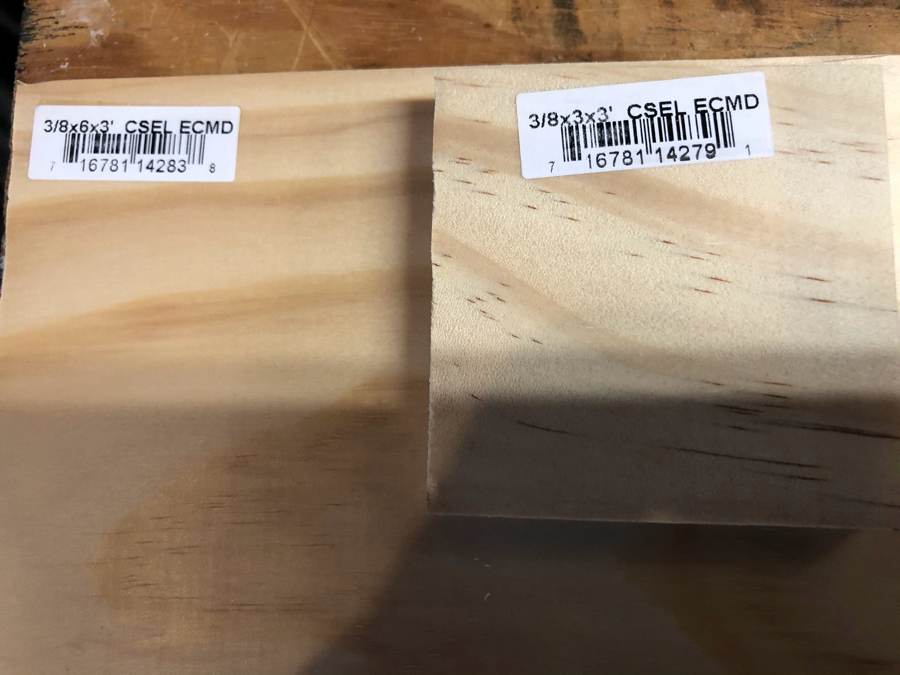 Ginny found a post that caught her eye and felt that we could easily modify it for our rig. The build was quite simple and the materials were
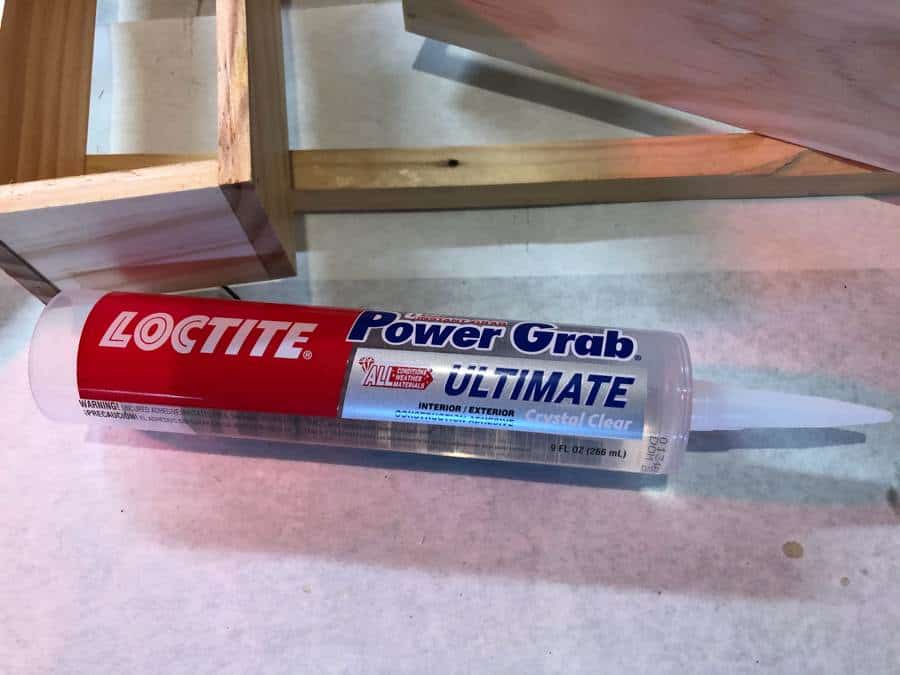 readily available at your local Loews Hardware store. It would call for Craft wood slats, glue, table saw or skill saw, and patience. The wood that we used was 3/8 x 3″ x 3′ and 3/8 x 6″ x 3′ pine located in the cut lumber section of Lowes. You have a choice of a number of types of wood from simple pine to cherry. The glue they used was Loctite Power Grab construction quality. Lucky for me I have a nail gun, one-inch brands to replace the glue in about 95% of the cases.
The table saw also made short order of the custom cuts I would need to make for each drawer fit. If you are using glue only you will need shims and clamps to hold the pieces in place in the drawers. I would also recommend you place paper in the bottom of the drawer to catch any dripping glue.
Ginny’s Design
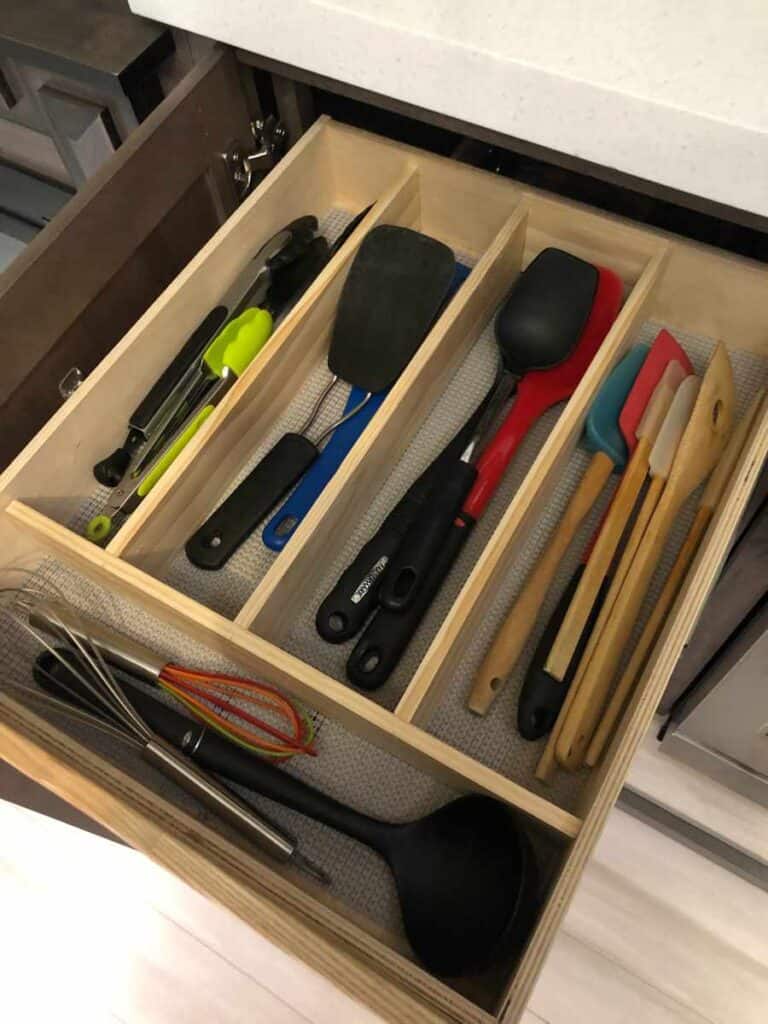 We are both pretty particular about our traveling kitchen. I have tried my hand at videotaping a few of the recipes that I have adapted for RV travel and call the series “Road Tested”. So I like to have a quick hand on the tools of the trade. Ginny just loves an organized kitchen so I left the design work to her.
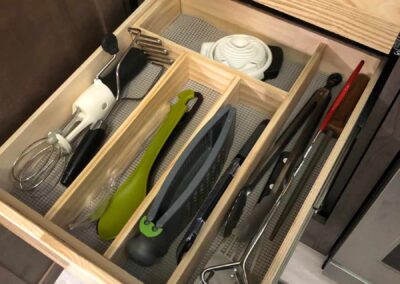
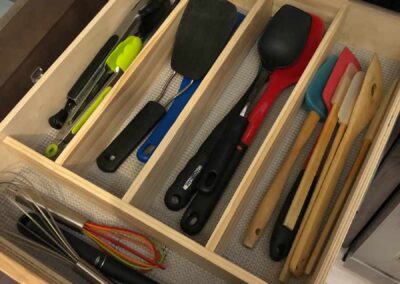
Once we got the various tools and gadgets organized and placed in the best-located drawer we began to layout our grids. Measurements were taken to have the boards fit tight into the drawers. In the case of the pictured drawer here we used the 3/8 x 3″. Once the cuts were made and the boards now placed where we needed them our cross-board was marked with the location of each vertical divider.
As I mentioned I have a nail gun. This made assembly very easy guided by Ginny’s eye for a good measure. In order for these to be able to be taken back out gluing or nailing the ends of the vertical strips to the cabinet was not an option. I used spacers between the verticals to keep them spaced properly. Nailing one set and gluing the other.
What About The Pots & Pans
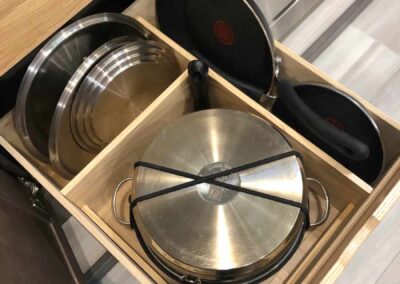
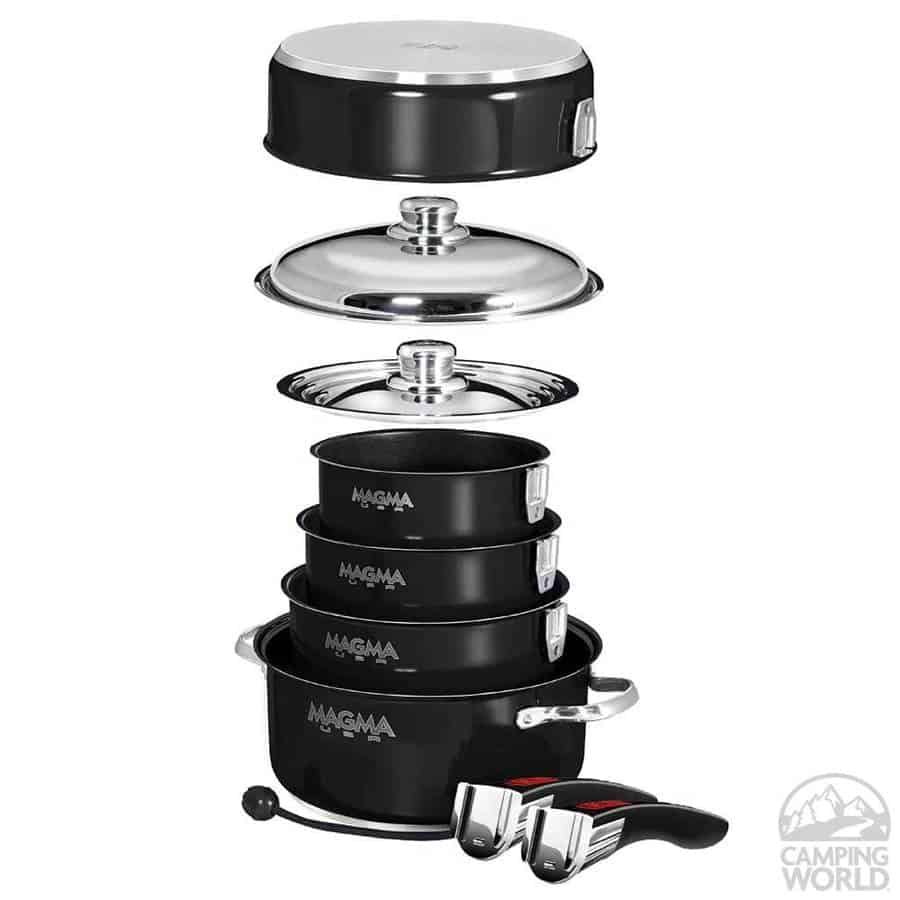 The pots and pans have always been an issue on the rigs we have owned. The first investment we made was in Magma Nesting Pans as part of our
 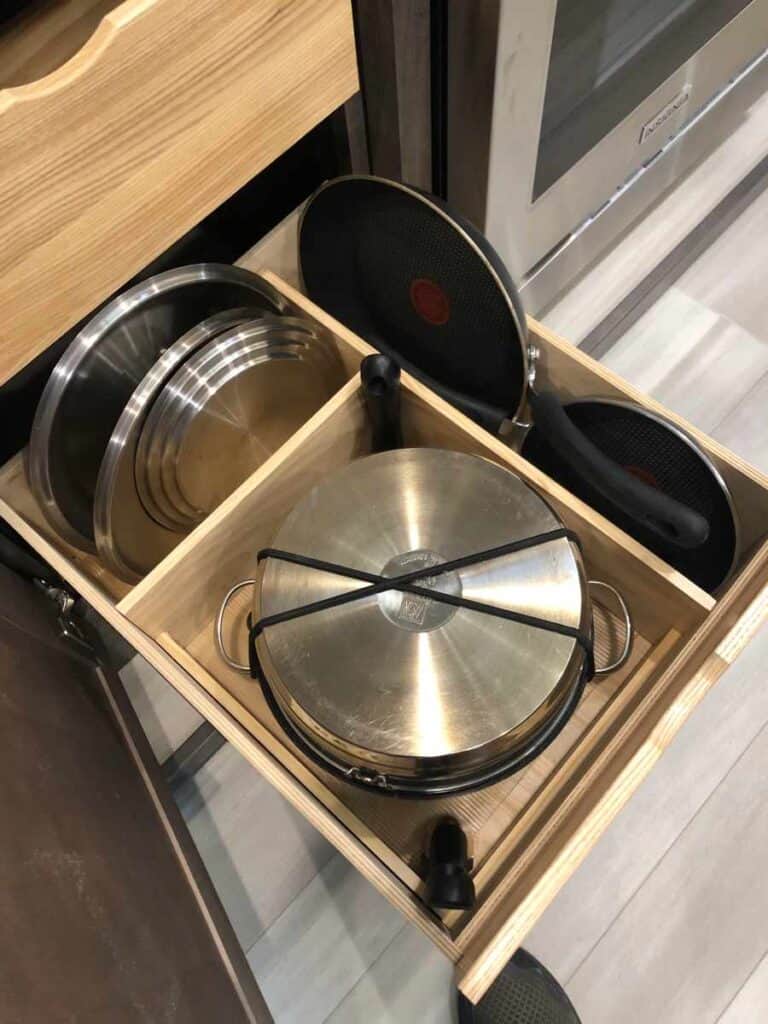 initial setup of our previous RV. This pan and lid combination had a very small footprint. We of course needed some non-stick frying pans both mid-size and small to compliment the set.
The Magma set has worked out fantastic for us and was a great investment. We wanted to have them and other pans handy and as close to the stove as possible. The Solitude had a rather large slide-out draw on the lefthand side of the stove, We came up with a good design to hold the Magma pans and handles in place along with the non-sticks.
The materials used in the build were the 3/8 x 6″ and 3/8 x 3″. As you can see in the photo the main vertical and side of the grid are 6″. I used the 3″ to finish out the box for the Magma Nesting pans. We ended up using 5″ pieces of 2″ PVC (not pictured) to hold the handles in the corners of the box. We used Alien Tap to secure the pipes. Again this is all removable from the drawer.
Just a couple more modifications
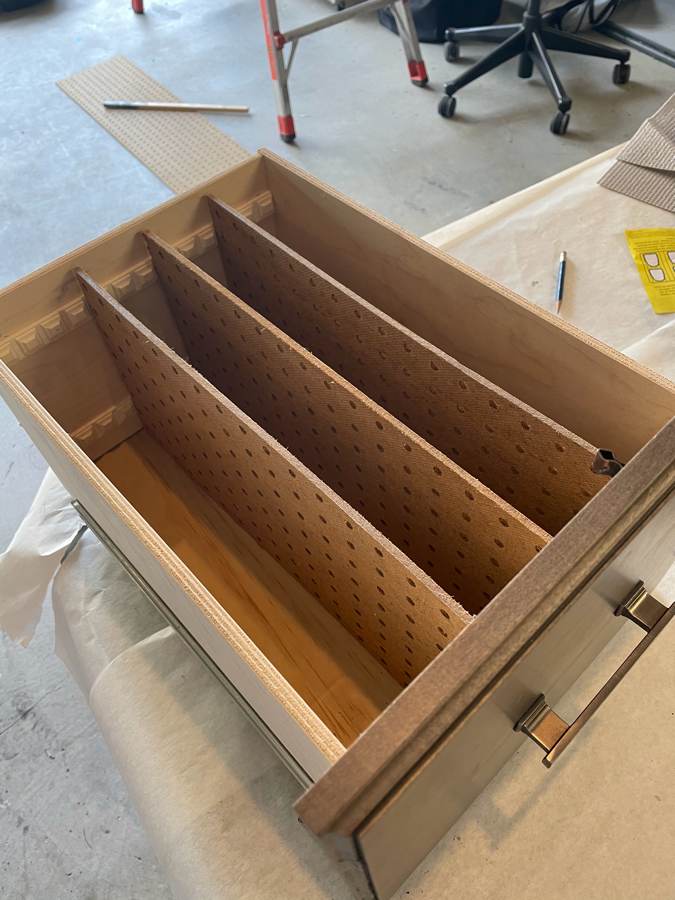
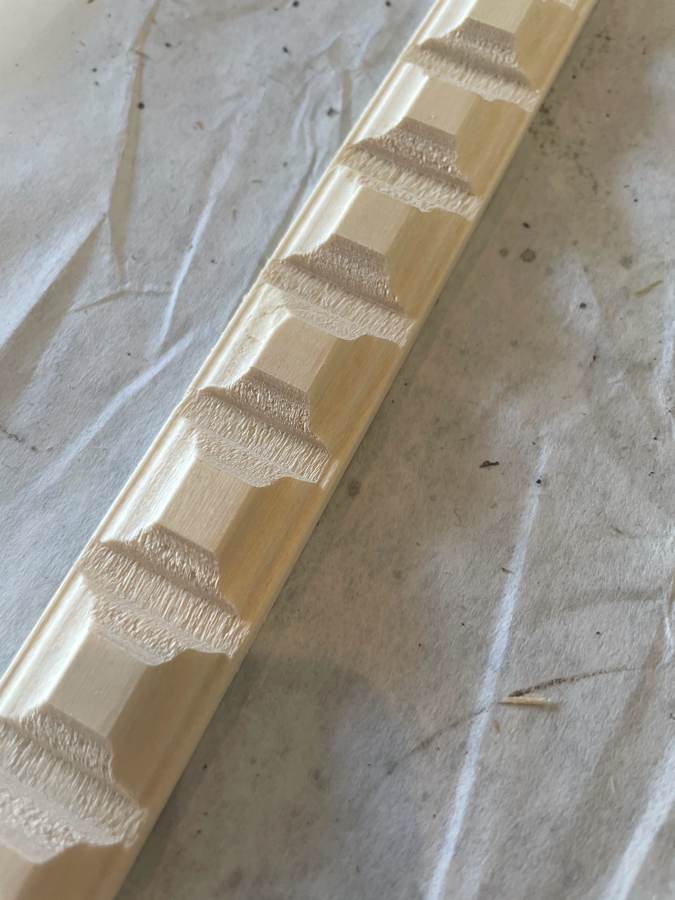 I decided to take the under-counter space on the island a notch up. The lower drawer on the right-hand side of the island was deep and large. We would typically keep, cake pans, colanders, large casserole dishes, and potholders in this drawer. They would be piled neatly on top of one another and we would always need to dig something out at the bottom.
I think I saw this modification or one similar on Pinterest. I had some 1/4 scrap pegboard and headed to Lowes for some dentil molding to complete the job. I simply cut four pieces of the molding to fit inside the drawer. I pin nailed and glued the molding to the inside of the drawer. The grooves in the molding served to hold the slates of the pegboard in place. The job tuned out nicely and the items are 100% easier to see and grab.
Where to secure the Insta-Pot
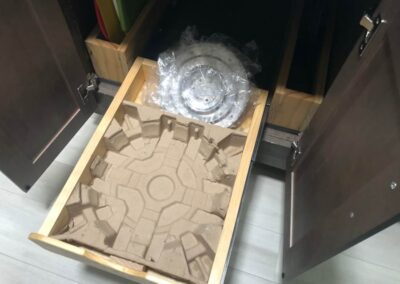
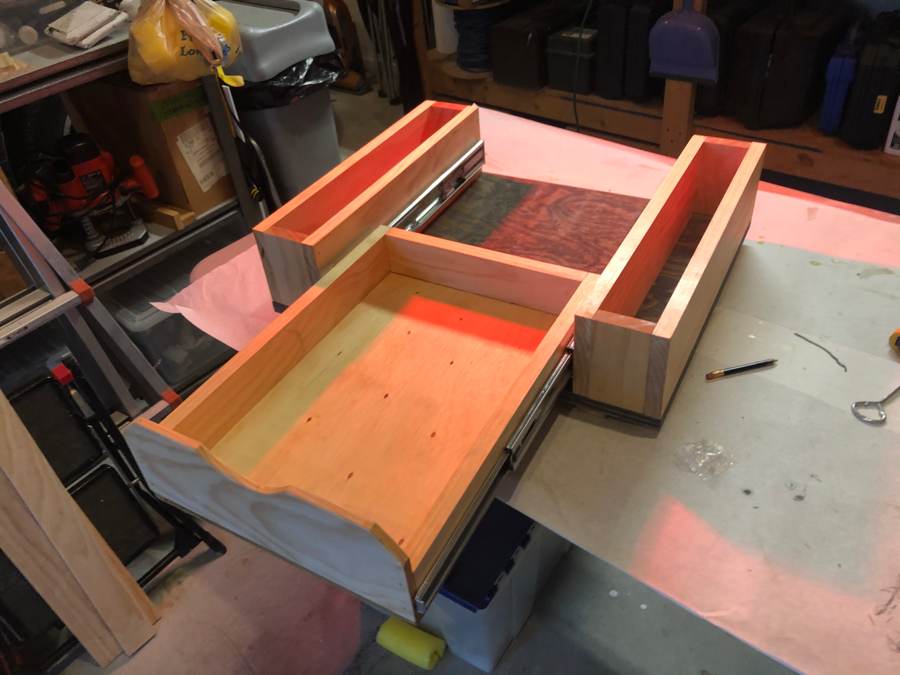 I wasn’t done yet. We needed a place to secure the Insta-Pot when we traveled. The most logical place was under the island on the left double door side. This was originally plumbed for a dishwasher that we never planned to install. I again had some 3/4 inch scrape word and a piece of 1/2 plywood laying around that I thought I could use.
I needed to build this slider on a platform due to the general lack of boards I could secure it to inside the island. I also wanted something we could take out if we decided to use this space differently. The build was overkill for the need. We had a heavy cast-iron skillet and a number of cutting boards and sheet pans that also needed a home. The left and right slots that held the sliding drawer served that purpose.
I took the packing material from inside the Insta-Pot box and cut it to fit the drawer. This kept the pot from sliding around during travel.
The Results
We could not be happier with the results. Ginny took the time to add a coat of Polyurethane to give the grids a nice finish and make them easier to clean. We plan to road test them in the spring. I will give a follow-up on this post if we find them to be not up to RV travel, frankly with the nails, glue, and tight fit they should be fine.

I got what you intend,bookmarked, very decent website.
Thanks my friend, hope you found this useful.
Thank you, just catching up with my comments. New to this.
I am incessantly thought about this, thanks for posting.
Thanks, we have a few more mods we will be posting shortly.
I reckon something truly special in this website.
Some really great info, Gladiola I detected this. I’m not spaming. I’m just saying your website is AWSOME! Thank you so much! Please vist also my website.