2020 Repairs, Fixes, and Faux pas
2020 started out to be what looked like a banner year for travel. The rig I felt was in good condition. There were a few issues I wanted to address prior to leaving for the season. This year I had plenty of time as I had injured myself and was in a walking cast for almost 6 weeks. Typically I am out west getting my ski on for a couple of months prior to heading out for the RV season. So let’s get to the early issues and upgrades prior to the COVID-19 lockdown.
Kitchen Slide Topper Canvas Repair
- During the 2019 season, we experienced a Carefree Slide Topper issue. One of the end-caps cracked and became dislodges from the brace. While trying to repair this on the road, I managed to put a
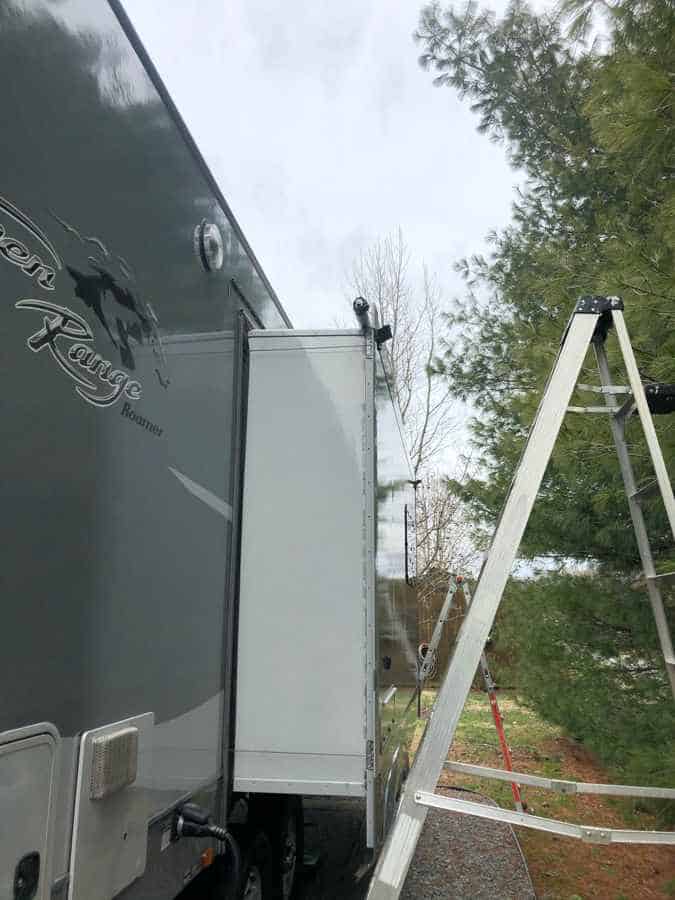 handful of wholes in the canvas. Couple that with very strong Las Vegas winds later in the season which tore the canvas a bit more, it was time for a replacement.
-
- Solution: Thinking we would need to replace the canvas I started looking online for replacement costs. Given the size of this slide, I was looking at $300 + or so to replace the canvas. RV Upgrades offered a 50′ roll of canvas material for about the same price. I was about to pull the trigger on the roll when Ginny felt the existing canvas could be cut, resewn, and patched. Off to the canvas repair shop I went to for last year’s repair. They turned it around on a dime and it cost us $40 all in. Having repaired the Dinning side last year we were pros at getting the canvas back in place. Looks as good as new and surely will last a few more years.
Soft Basement Flooring
- Does this sound familiar to you? Seems these rigs are a magnet for water leaks and if you don’t keep up with them they turn into bigger issues. I had noticed that we
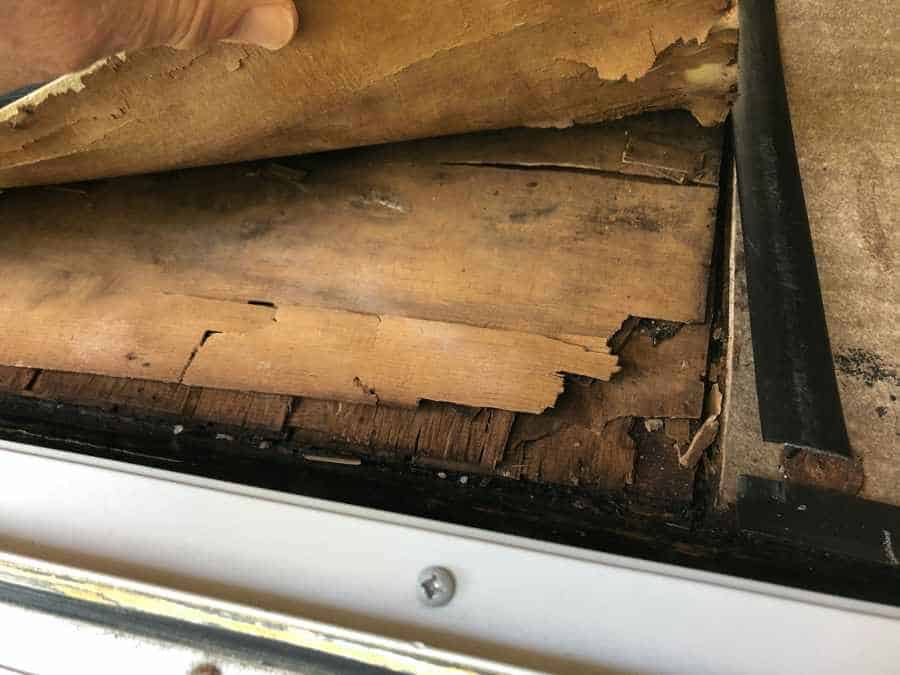 had a soft spot in the basement near the hatch door. I had left the hatch open on several occasions a few times during heavy downpours. So the issue was all mine I thought. The water had accumulated in the corner of the basement and had nowhere to go but into the exposed flooring near the edge of the basement.
 -
- Solution: I had no idea what to expect as I began to uncover the subfloor under the sheet of linoleum that covered it. I managed to get the linoleum off the subfloor only to find some very wet and seriously damaged flooring. Upon further review of the issue, the damage extended past the divider wall and into the utility bay area of the rig.
- I contacted Highland Ridge to see if I could get some design blueprints to understand what was beneath the subfloor. I needed to understand what was holding it in place and where the support beams were. They answered the bell and got me the design specs. After taking a look at the blueprints I proceeded to cut out a 4′ x 1′ section of the subflooring near the hatch. I could see why the wood was getting so wet. There very little protection where the edge of the plywood met the edge of the rig. A weatherstrip was installed but water could easily seep under the strip and penetrate the wood.
- The damage in the utility bay area was under the water pump and water/dump valve bay. I was not about to take down the divider wall, dismantle all of
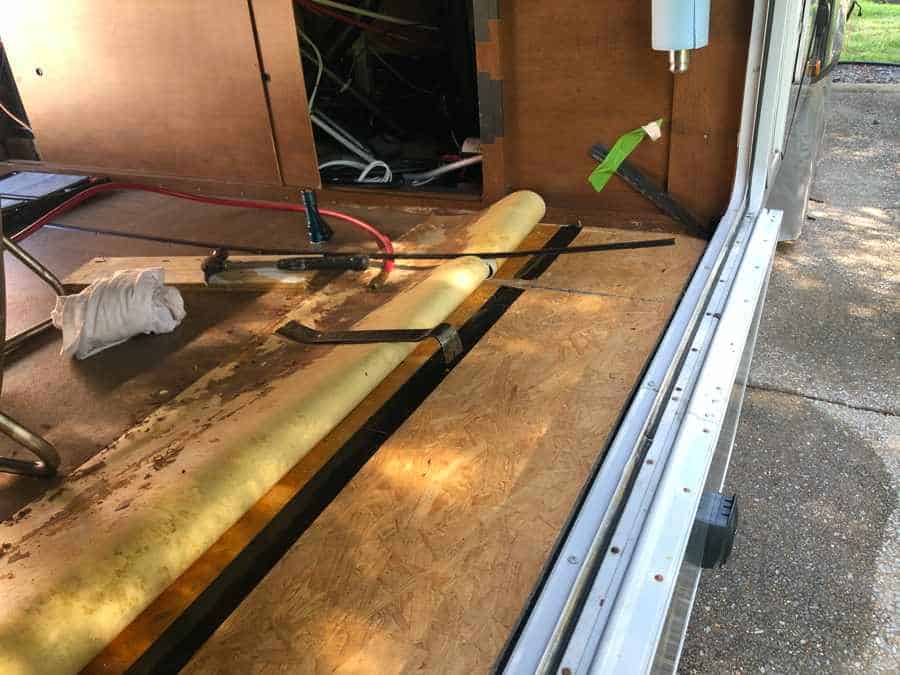 those connections and take out the water pump and bay to get to the damaged area. So I cleaned out the damaged wood the best I could by digging it out from under the units with a small claw. I ran a fan in the basement for a couple of days to dry out the wood and area thoroughly.
 - It is my opinion that the water/dump bay which was directly over the damaged area inside the utility bay was leaking. Typically there is some backflow or spillage when I disconnect the city water. This water appears to drain out the access port for the hose. However, I believe that the water seeps into the flooring area and penetrates the exposed wood where the subfloor meets the side of the rig. I caulked this area including the access port in hopes that this will stop this issue.
- With the damaged wood removed, I now set out to fit a new piece of subflooring in place of the damaged wood. Once in place, I found I could tack nail it where they had placed a wood bean near a seam of two pieces of subflooring. The subfloor now in place, I caulked the edge where it met the side of the rig so the water was less likely to penetrate the wood. I sprayed glued the linoleum back in place and drilled new holes for the self-tapping metal screws and washers that would hold the flooring in place.
- Solution: I had no idea what to expect as I began to uncover the subfloor under the sheet of linoleum that covered it. I managed to get the linoleum off the subfloor only to find some very wet and seriously damaged flooring. Upon further review of the issue, the damage extended past the divider wall and into the utility bay area of the rig.
Suspension System Failure
- An Instagram post got me wondering about what the condition of our leaf springs where. During our travels, we hand encountered an RVer that had a broken leaf spring,
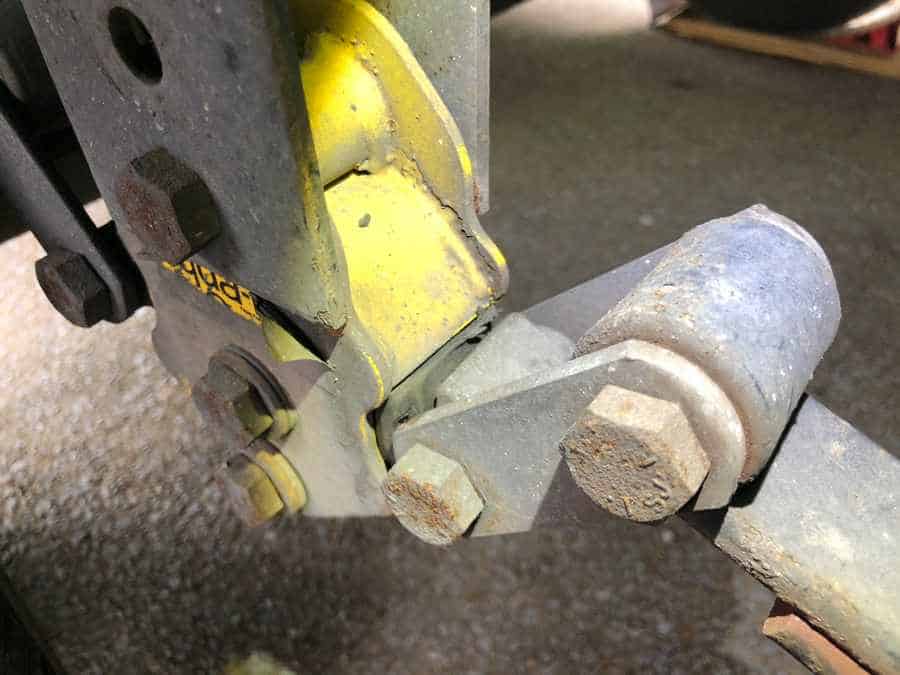 that in our opinion looked very bad. After seeing this Instagram post about a similar issue and involving the suspension system I had on the rig it got my attention. I went out and inspected the leaf springs for cracks or issues and everything seemed fine. A closer inspection of the Lippert Equa-Flex suspension revealed a crack in a weld that did not look good.
- Solution – My first inquiry was to Lippert customer service to see if they could shed any light on the issue. I provided them with the photo to the right to see if they felt it was a problem. I made an assumption that the main body of the unit was not cracked so I might be able to spot weld the crack.
- Lippert came back to be with a short and sweet note. Spot welding would compromise the metal and the unit would fail. That was not what I wanted to hear.
- I researched a handful of replacement suspension systems and landed on MOR/Ryde SRE 4000 as my choice. This would be an upgrade from the Lippert Equa-Flex and a much better suspension solution.
- After completing a 12 step measurement qualifying survey we had the right specs to mount the SRE 4000. Now it was time to give my local dealer a call to see if
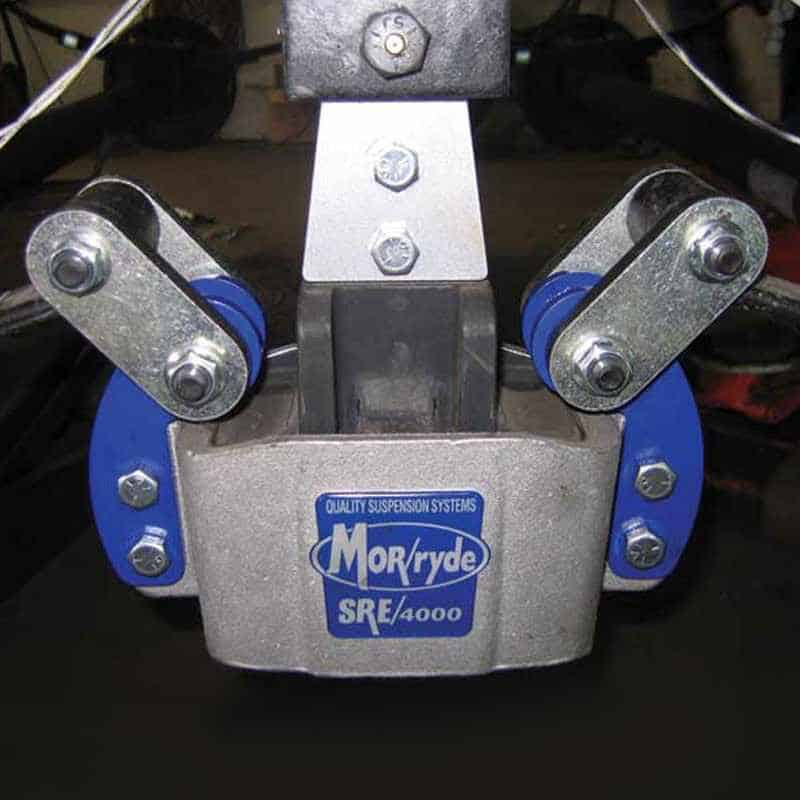 they could work me in to install the unit. This was not going to be a DIY job for me. I did not have the proper jacks to get the rig off the ground to work on the suspension.
 - This is truly a very big upgrade from our existing Equa-Flex system. I plan to post about the unit once we have a few miles under our belt.
Wheel Bearings Repack
- We typically have our bearings repacked every 12,000 miles or so. Having a horse trailer in our lives prior to owning the RV we learned rather quickly how important this procedure was. Given the weight and road conditions, we encountered over those miles this has become a ritual for us. The RV dealership does not do this work. We are lucky enough to have a trailer builder close by that gets the job done for us. Typically they can turn the rig around in few days.
Victron 712 Battery Monitor System
- We have had our share of battery issues over the past 4 years. We lost the OEM batteries in the first year of using the RV. Our dealer who thought they were doing the right thing by isolating one of our two 12 volt marine batteries to run the generator messed up. We have a residential refrigerator on the rig and it tends to draw a considerable amount of amperage when we are not using shore power. If we ran for more than 5 to 6 hours while we trailering our battery would drain. This ended up killing two batteries.
- Once we figured out what was causing this to happen we had the rig rewired and replace the 12 volts with 6-volt Golf Cart batteries. This solved the problem but we were still riding pretty blind regarding our battery storage and usage. We wanted to move on to some dry camping and we had no way of accurately monitoring our batteries.
- Solution – After watching numerous Youtube videos and reviews we landed on the Victron 712 Blue Tooth enabled battery monitor system. I wanted a way to easily monitor the batteries as we
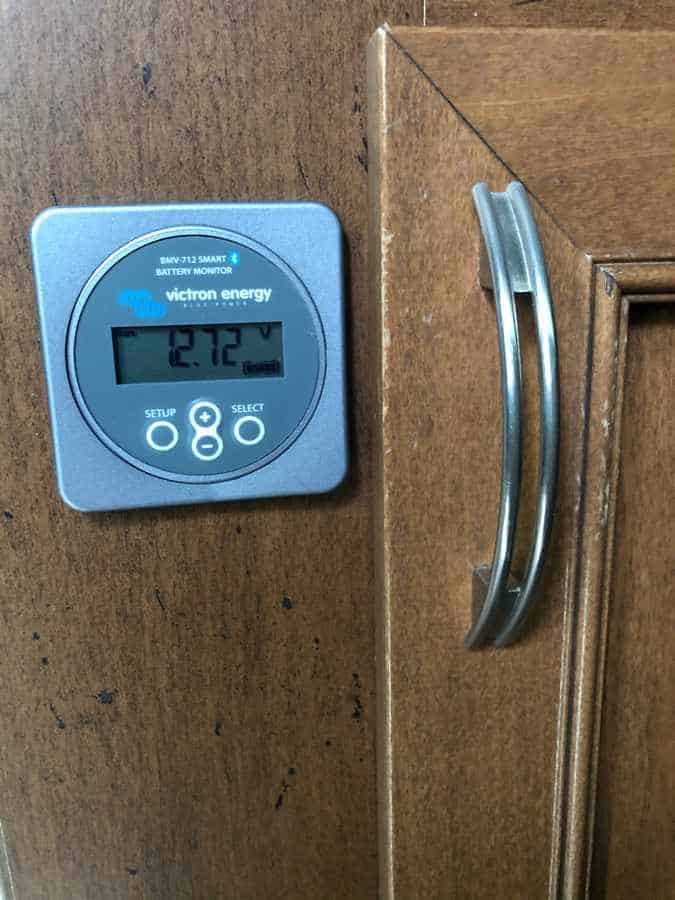 traveled and dry camped.
 - The install was relatively straightforward. I decided after reviewing my install options in the rig that I could mount the device in the cabin near the utility compartment. I managed to snake the monitor wiring through the existing wire tubing and straps from the battery compartment to the utility cabinet. This took a wire snake and some effort but it all worked out. Drilling a doorknob-sized hole in the trim piece next to the compartment went well and the unit fit perfectly in place.
- The shunt was another story. The mount was easy enough but I wanted to use as much of the existing wiring as I could. This called for a number of the negative runs to be connected to the shunt and one more to the 6 volts run in series. It got a little tight on the input side of the shunt with all those connections. If I had it to do again I would place a shunt bar with a fuse in the mix and run one wire off of that to the Victron shunt.
- The calibration setup was easy and the monitor was working as it should. It was not time to see how long we could dry camp with the current battery configuration. We thought the best way to test this would be in our driveway. We would use the RV throughout the day as we would if we were dry camping. The batteries allowed us to run almost everything we needed to have, refrigerator, lights, water pump, and chargers for various devices.
- Solution – After watching numerous Youtube videos and reviews we landed on the Victron 712 Blue Tooth enabled battery monitor system. I wanted a way to easily monitor the batteries as we
Slide Gear Breakdown
- It was bound to happen sooner or later. We had an issue with our slide motors in our first year of ownership. The gearboxes on the dining room and kitchen both went out. The Kitchen went
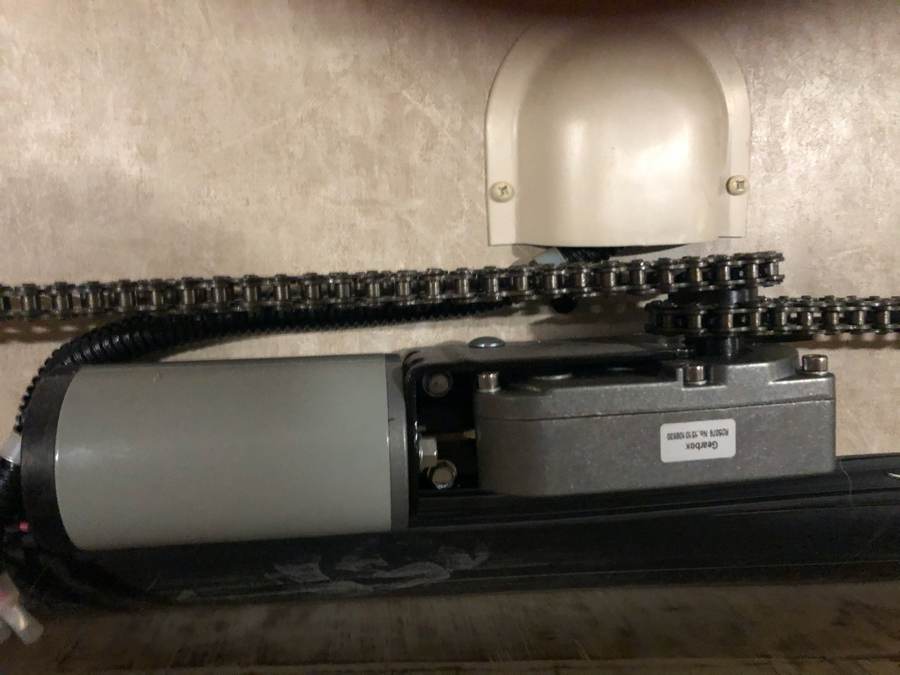 as we were preparing for a trip. The slide was out and I managed to get the slide back in before the gears totally striped. These were both covered by warranty and Dunlop RV worked us in quickly to get them repaired. The bedroom seemed to be working fine so they did not replace it.
 - So 4 years later as we are making our way to El Paso from Nashville the bedroom slide begins to show telltale signs of the gearbox going out. You hear a grinding sound, the slide jolts a bit, and eventually, start to bounce a bit as you try to move it in. We were in the middle of Texas and two days out from our destination of Las Cruces. I got in touch with Richards a mobile RV repair shop in Las Cruces set him a photo of the part and scheduled the repair.
- This is a two-man job and not one that I wanted to take on. The parts run about $89 on-line, labor is typically about $130 an hour, and the service call runs about $75 bucks for a mobile unit. He charged me about 20% more for the part and his rate was $110 an hour. He got the job done in about an hour.
- We are back in business and the new gearbox sounds like it loves its new job.
Years Past Repairs, FIxes & Upgrades
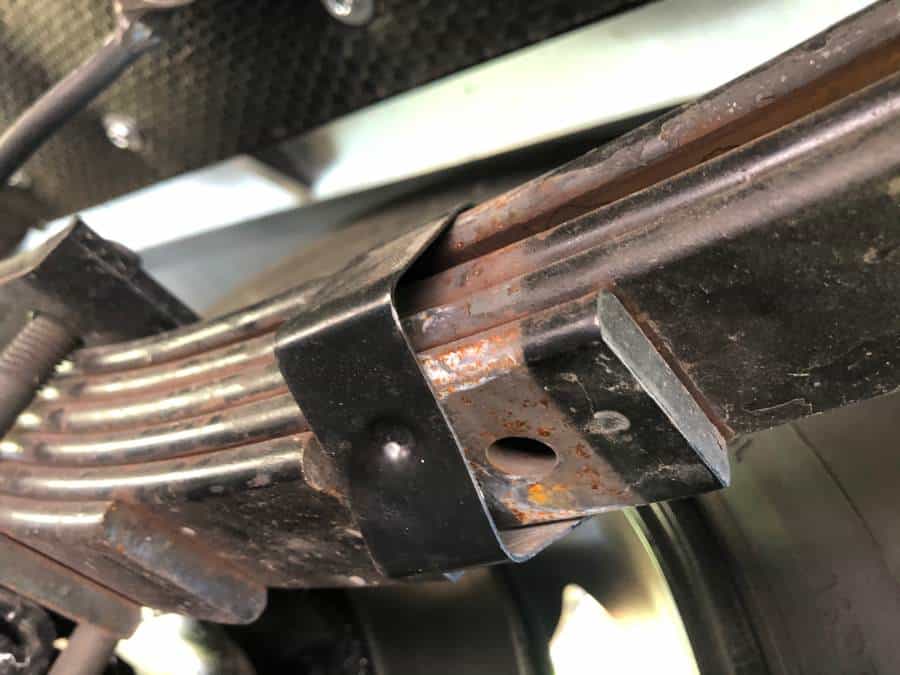
Leaf Springs
Having gone through the suspension issue on our first rig it was imperative that I take a hard look under the rig prior to leaving the dealership. I did crawl under and took a good but frankly not through look at the suspension. I did not find anything out of place, broken, or leaking.
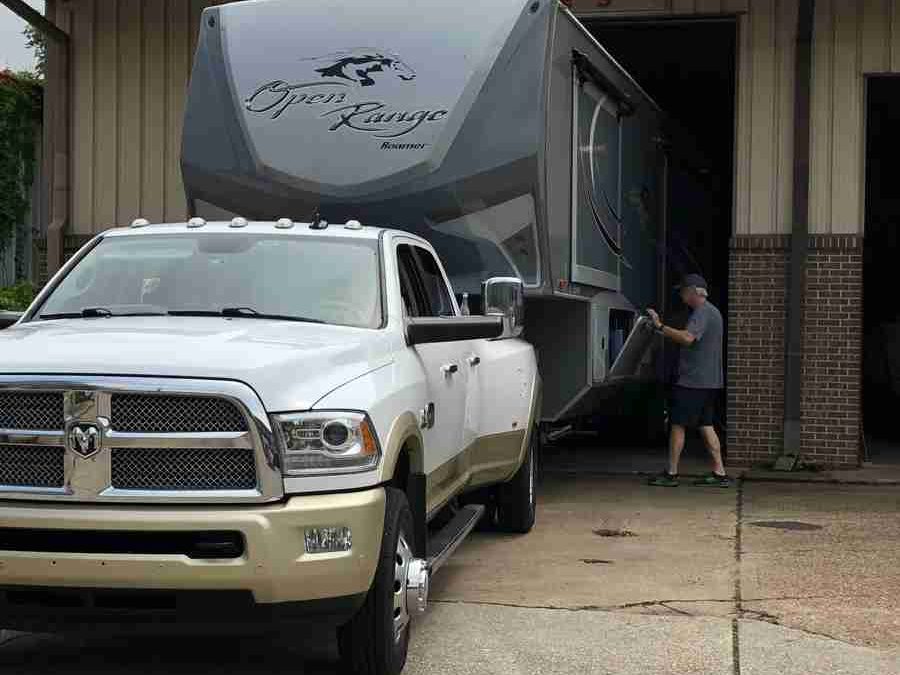
2019 Repairs, Fixes And Faux Pas
We are going to try a little something different with this post. Rather than waiting to the end of the year, I will update this as we go this year. The reason, things happen, they happen fast and it’s worth writing down. I will keep this updated with anything new that pops up.
2017/18 Repairs, Fixes and Faux pas
2017/18 proved to be years that tried our patients regarding breakdowns and repairs. I was building a very good relationship with my service tech at the dealership.

2016 Repairs,Fixes and Faux pas
It would be easy to show all the great locations and fun times we have had over the last couple of years. I want to be a bit more transparent about RVing.
